

DIY: Ombre Glitter Vases (for under $2!)

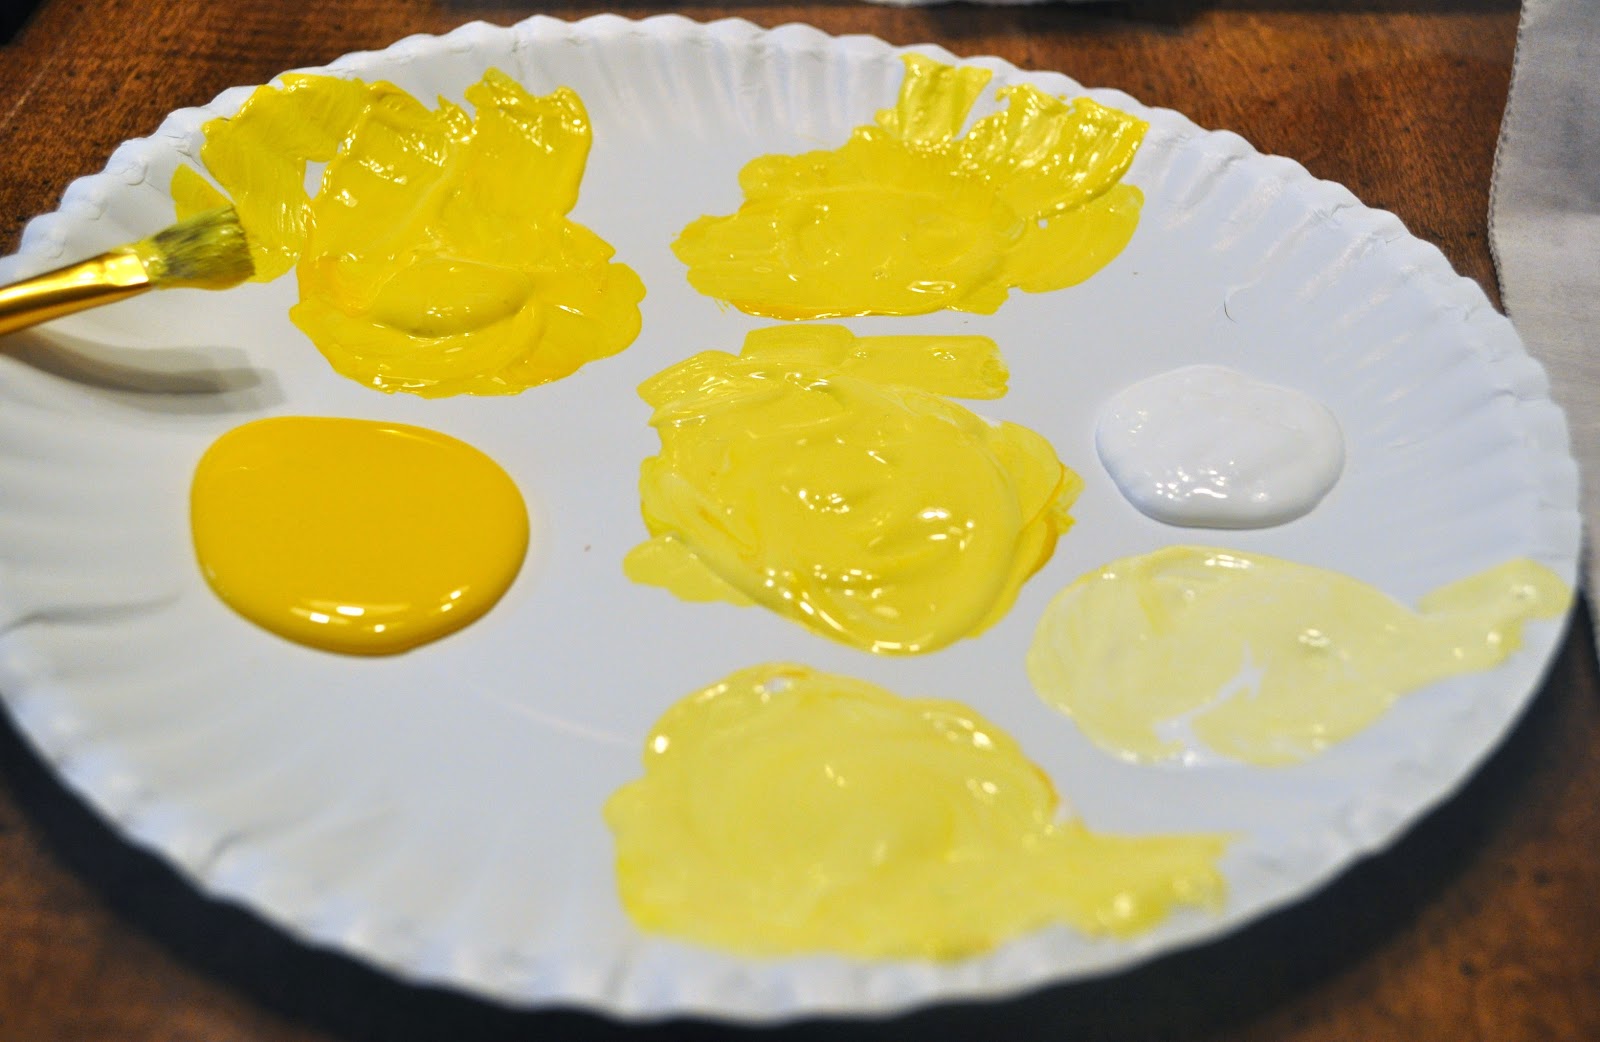
For the paint – you start with white and whatever other color you like. I made the variations of color all on the plate but then we realized you could just start with a blob of white and then add in a couple drops of color each time. Either way works – just so you go from white to color in a slow manner.
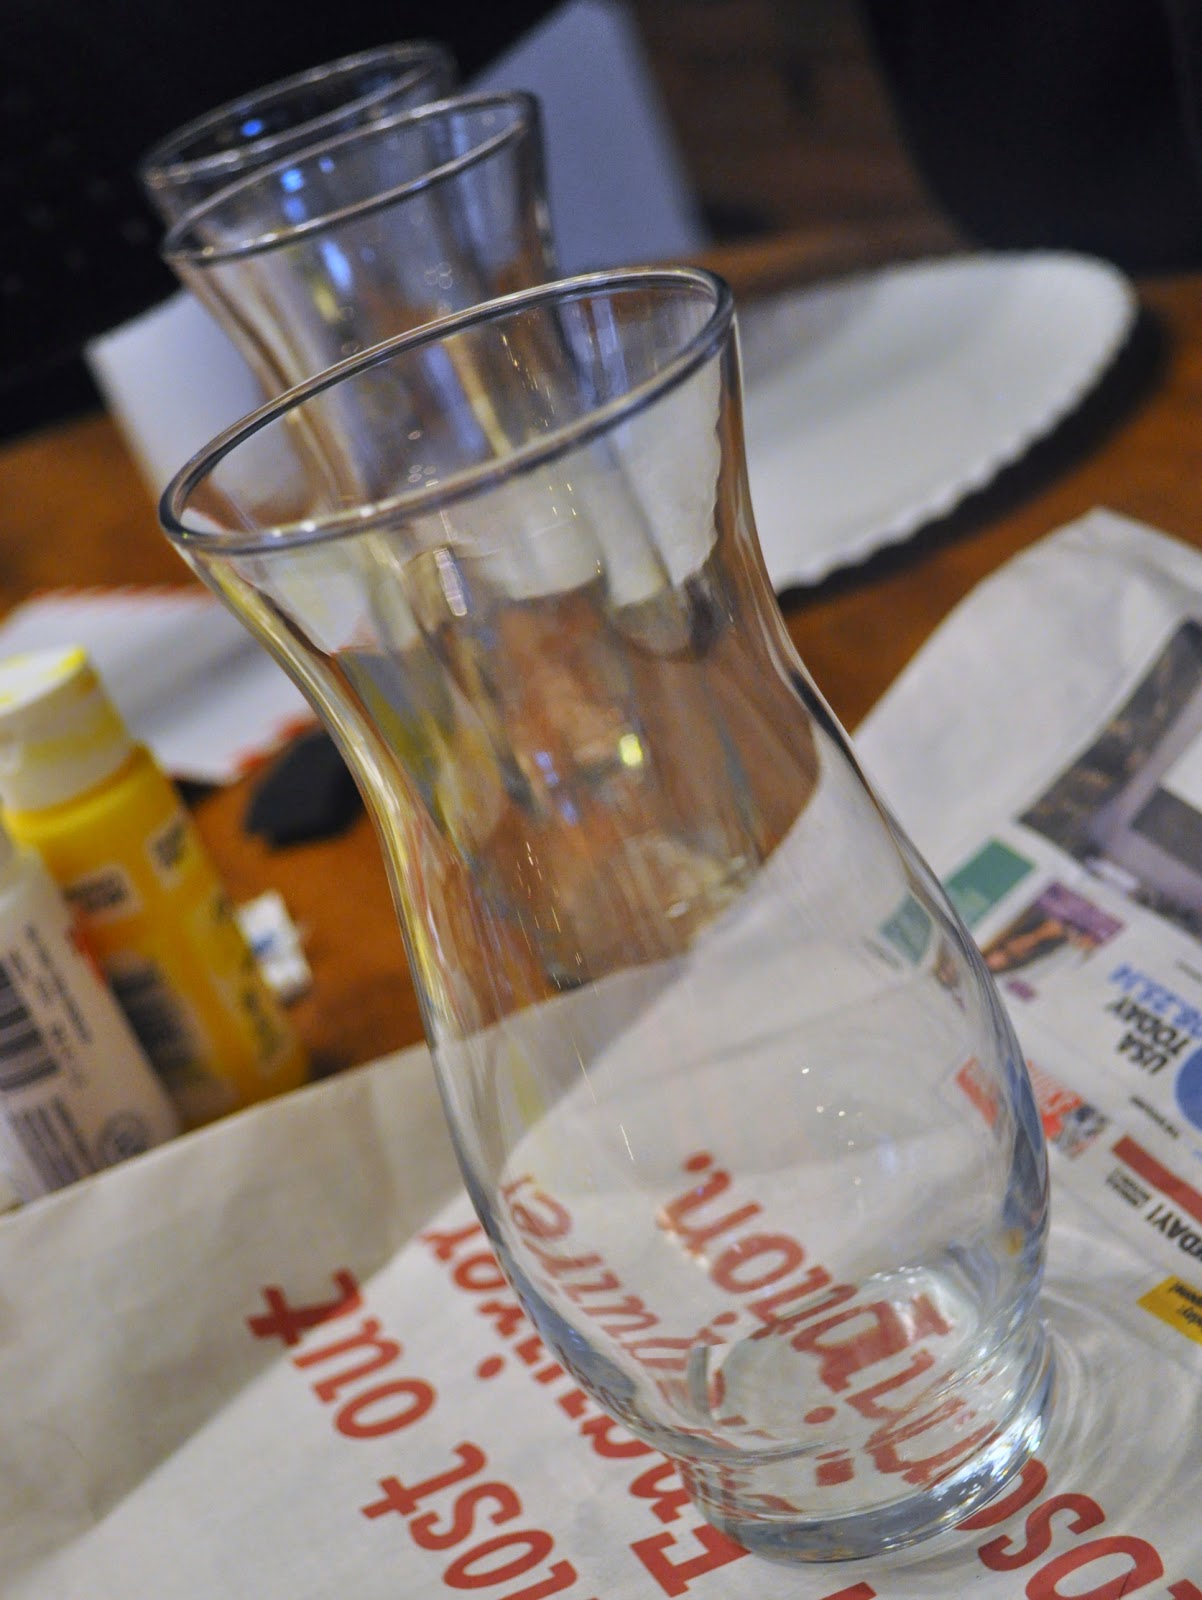
Here’s the best part – the paint is 50 cents at Walmart, the foam brushes are $2 for a big bag and the vase was $1 at Dollar Tree. I have to say – I went to every dollar store and Dollar Tree has the best selection and quality for craft type of generic items. So if you’re going on a hunt for something – go there first.
All in all – this costs less than $2. Nice!!!

The foam brushes that are about an inch wide are perfect – you just make a couple of swipes the width of the brush around the top of the vase. You don’t need to let it dry all the way – but wait maybe a minute between colors.

Then you take the next color and go down about half way on the first swipe – and paint a swipe all the way around. You just keep going like that – overlapping a bit each time. You see a lot of brush marks in mine – but once it’s all done – they aren’t near as obvious.

And then you go all the way to the bottom where you have a solid color. This was super simple – it maybe took an hour and that was with all of our gabbing and eating cobbler. These vases were a great size because as you got lower on the vase – you could just stick your hand inside to hold it so you weren’t touching the paint. By the time you get to the bottom – the top should be dry – so you can set it upside down if you want to let it finish drying.

These are the finished vases – you can really make them your own – with more distinct color changes or more muted. Danielle – always the rebel – decided to start with the color at the top. And when I say “decided” – I really mean – accidentally. But hers looks great too!

And here she is…creepin on my shot. It’s always something with her! Luckily she makes a mean cobbler – so I think we’ll keep her. 😉

After the vases dried – I took my Glitter Mod Podge and put a top coat on the paint. I figure this will keep the vases from chipping a little and gives them a little shimmer – so cute!


Hi! This is my first comment here so I just wanted to give a quick shout out and say I genuinely enjoy reading your blog posts. Thanks a ton!